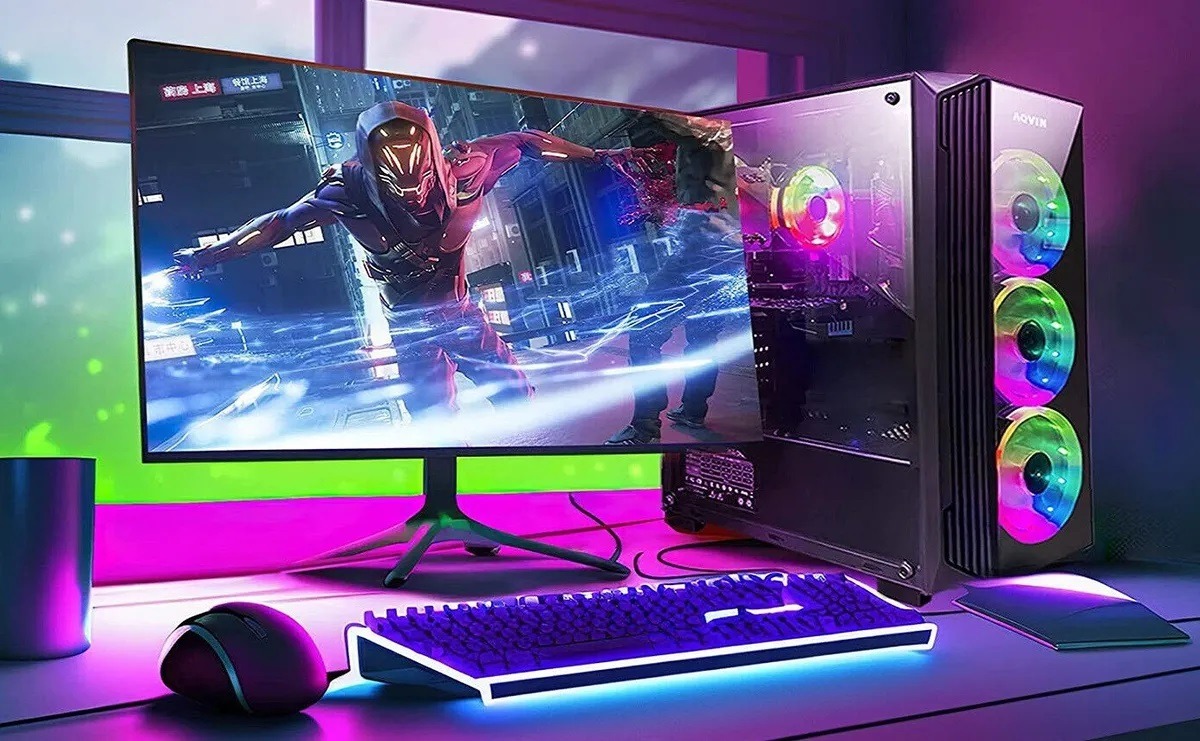
Planning Your Custom Gaming PC
Custom Gaming PC: Before embarking on building a custom gaming PC, it’s crucial to plan meticulously. This planning stage ensures that you have a clear vision of your build, aligned with your budget and gaming goals.
Budgeting and Goals
Determine your budget as the first step in planning your custom gaming PC. Your budget will guide which components you can afford and prioritize. Define your gaming goals: Are you targeting high frame rates at 1440p or 4K resolution? Do you want a future-proof system or a budget-friendly machine? Your goals will influence the choices you make for each component.
Researching Components
Once your budget and goals are defined, start researching components. Utilize resources like dedicated forums, review websites, and YouTube channels that focus on PC building. Compare different brands and models of CPUs, GPUs, motherboards, memory sticks, and other hardware. Pay attention to user reviews and expert opinions to understand the performance and reliability of each component.
Compatibility Checks
Compatibility is a critical factor in a seamless PC build. Use tools like PCPartPicker to ensure all selected components are compatible. Check power requirements, case sizes, and connector types. Properly plan the space in your case for all components and airflow management. This step prevents issues during assembly and preserves your budget by avoiding unnecessary returns or replacements.
Choosing the Right Components
After planning, the next phase is choosing the components that will form the core of your gaming PC. This process involves identifying components that fit your budget while meeting your performance needs.
Selecting the CPU and GPU
The central processing unit (CPU) and the graphics processing unit (GPU) are the heart of your gaming PC. When selecting a CPU, consider options from AMD and Intel, keeping in mind their performance relative to price. For gaming, a high-performance GPU like those from Nvidia or AMD is crucial. Aim for a balance between CPU and GPU to avoid bottlenecking, where one component limits the performance of the other.
Picking the Motherboard
Your choice of motherboard should align with your CPU and GPU. Ensure the motherboard socket matches the CPU and that it has enough PCIe lanes for the GPU. Consider additional features like RAM capacity, number of M.2 slots for SSDs, and other expansion slots. A reliable motherboard from brands like ASUS, MSI, or Gigabyte can enhance overall system stability and performance.
Memory and Storage Options
RAM (Random Access Memory) and storage are vital components. Aim for at least 16GB of RAM for gaming, with a speed of 3200MHz or higher for better performance. For storage, SSDs are recommended over traditional HDDs for faster load times. A combination of an NVMe SSD for your operating system and games, and a larger HDD for additional storage, strikes a good balance between speed and capacity.
Assembling the Hardware
With your components selected, it’s time to assemble the hardware. This stage requires precision and patience to ensure everything fits correctly and functions properly.
Installing the CPU and Cooling System
Begin by installing the CPU onto the motherboard. Carefully place the CPU into its socket and secure it according to the motherboard’s manual. Next, attach the cooling system. Whether you opt for air cooling or a liquid cooler, ensure it is properly mounted to provide adequate cooling to the CPU, critical for optimal performance and longevity.
Mounting the Motherboard
Mount the motherboard inside your case. Align it with the standoff screws in the case and secure it with screws. Make sure all necessary power connectors, such as the 24-pin ATX and CPU power connectors, are properly attached. Avoid over-tightening screws to prevent damaging the motherboard.
Adding RAM and Storage Drives
Insert the RAM into the motherboard’s DIMM slots, ensuring they are fully clicked into place. For storage drives, first mount the SSDs and HDDs in the appropriate bays or slots. Connect them to the power supply and motherboard using SATA cables for SSDs/HDDs or slot them directly into M.2 slots for NVMe drives. Proper cable management at this stage can help improve airflow and make future upgrades easier.
Setting Up Software and Testing
Once your hardware assembly is complete, the final steps involve setting up the software and ensuring everything runs smoothly.
Installing the Operating System
Power on your PC and enter the BIOS. Set the boot priority to your installation media, such as a USB drive with the OS. Follow the on-screen instructions to install your operating system, typically Windows for most gaming PCs. Ensure you have the necessary product keys and account information ready.
Setting Up Drivers and Updates
After installing the OS, download and install the latest drivers for your GPU and other components. Manufacturer websites such as Nvidia, AMD, and the motherboard provider will have the necessary driver downloads. Regularly check for updates to keep your system running optimally.
Running Benchmarks and Stress Tests
To confirm that your gaming PC is functioning well, run benchmarks and stress tests. Use programs like 3DMark for benchmarking and Prime95 for stress testing the CPU. Monitoring tools like HWMonitor will help you keep an eye on temperatures and performance metrics. This step ensures that your PC can handle intensive gaming sessions without stability issues.
By following these steps meticulously, you can build a custom gaming PC tailored to your specifications, providing an optimal balance of performance and reliability.
